- Help Center
- Store administration
- Discover the back office
- Navigate the menu
Navigate the menu
Mark
-Updated on Friday, August 18, 2023
The day-to-day administration of your store takes place in the back office. This interface and its many pages will soon hold no secrets for you, thanks in particular to the menu on the left-hand side of the page.
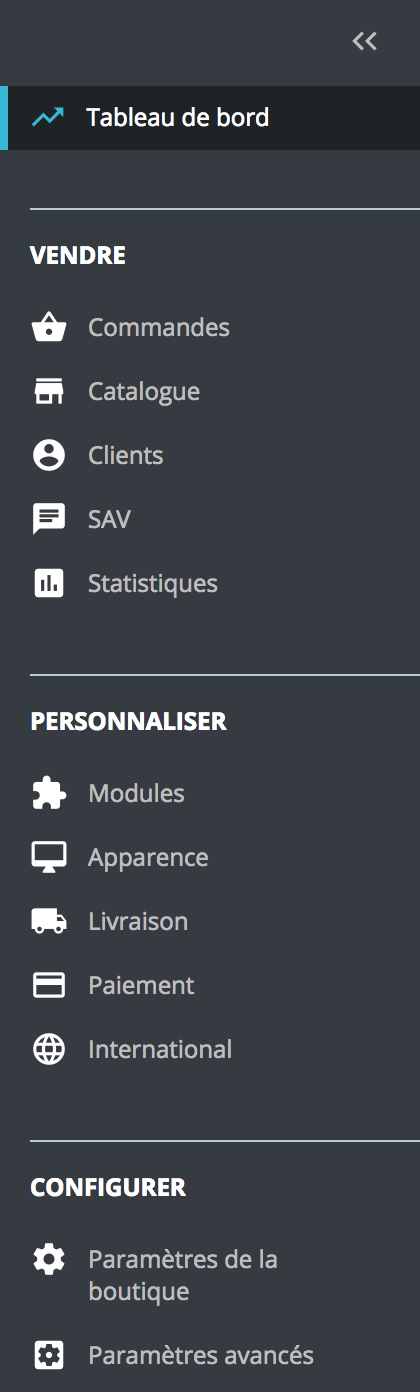
This menu is organized into different sections. It has been designed to put the pages most useful to merchants at the top, to facilitate day-to-day navigation.
If required, the vertical panel can be reduced to show only the icons for each menu entry, simply by clicking on "<< " at the top right of the panel.
Access the dashboard
This is your back-office home page. This is where you can consult your e-commerce's main statistics in real time. Navigate to the "Sell" section This is the heart of your store, where you can access your catalog, manage your orders, consult your customer accounts, etc.
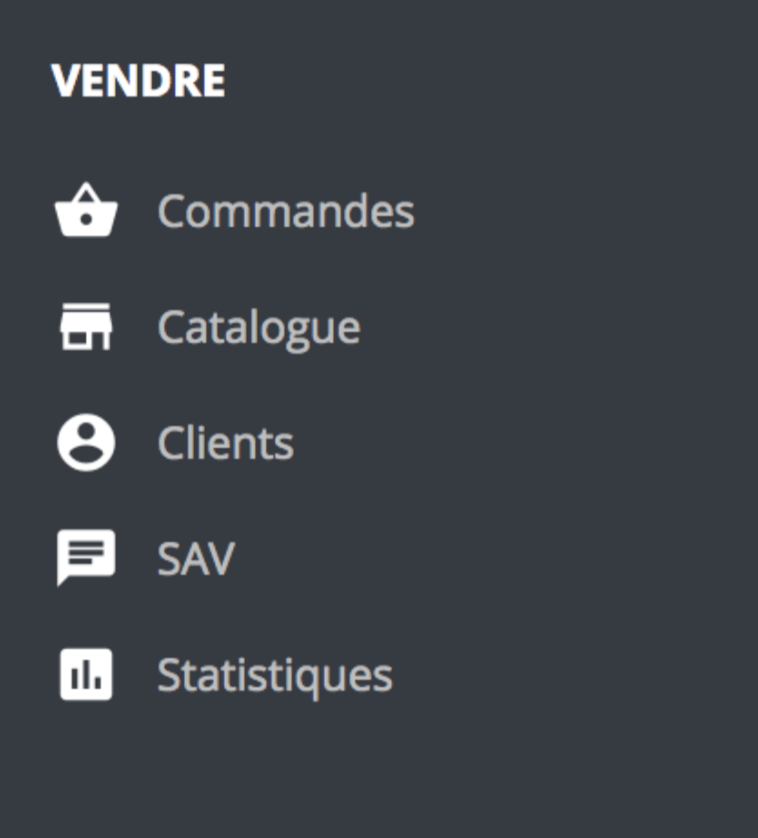
Orders: this menu entry lets you access orders placed on your site, consult abandoned baskets, and retrieve invoices and/or credit notes.
Catalog: this entry lets you manage categories, monitor products, add attributes and/or characteristics, brands and/or suppliers, and create promotions.
Customers: this menu item lets you view customer information and modify associated addresses.
After-sales service (SAV): this entry enables you to manage your customer service department, tracking customer exchanges, contact requests and product returns.
Statistics: this menu item gives access to your store's statistics.
Navigate to the "Customize" section
This is the area where you can further configure your store: access modules, set site design parameters, manage carriers, payment methods and more.
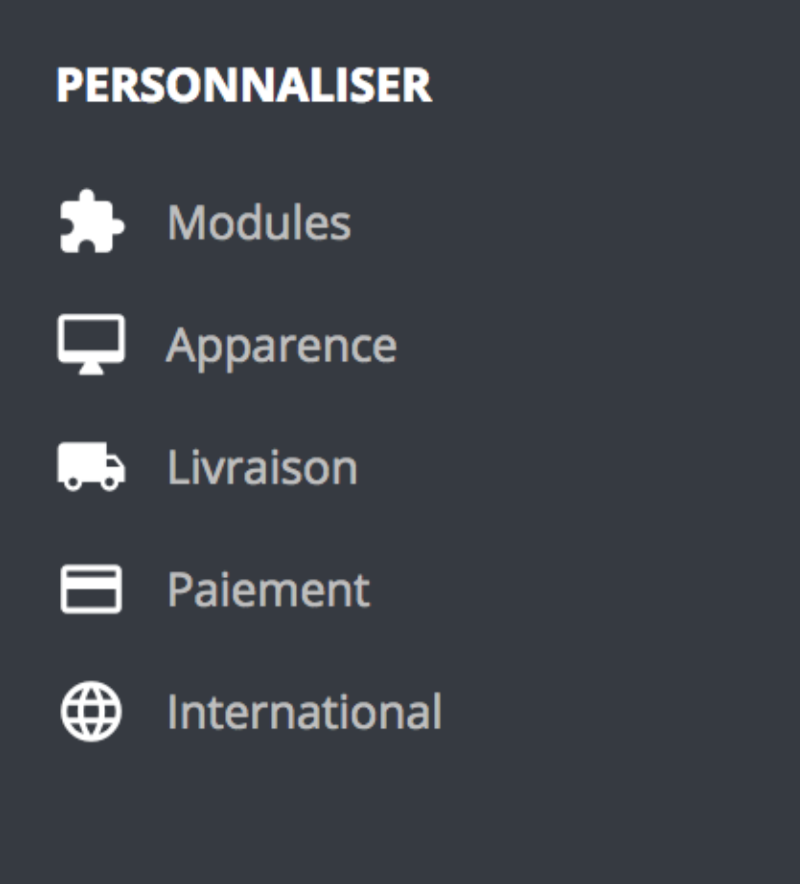
Modules: this entry lets you search for, install or uninstall, configure, activate or deactivate modules.
Appearance: this menu entry lets you configure the overall design of your store, using the theme, images, content pages and e-mails.
Delivery: this entry provides access to your product shipment management (carriers, delivery costs, etc.).
Payment: this menu item lets you select the payment methods available to your customers.
International: This entry allows you to configure the localization of your site, including available languages, currencies, geographical zones, taxes and translations.
Navigate to the "Configure" section
This is where the general parameters are set once the store has been installed. These are the site's first configurations. This is also where you'll find the advanced settings, which bring together all the site's technical configurations.
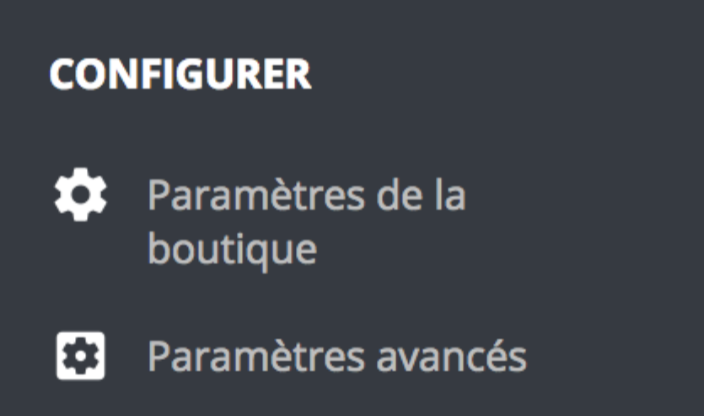
Store settings: this menu entry allows you to make the first settings for your site, such as defining search, traffic, order or product parameters.
Advanced settings: this entry lets you configure specific functionalities such as web service settings, site performance, database backup and employee access rights.
These 13 entries constitute the default menu. Some modules may add new entries or additional options to certain pages.
Share