1. Introduction
Whether it's to discover PrestaShop without having to subscribe to hosting, to train yourself, or to do tests for your online store, it's useful to know how to install a PrestaShop store locally on your computer. This article will guide you through this process.
2. Prerequisites
2.1 Skills
You do not need development skills to install a PrestaShop store locally. This article will guide you step by step and is accessible even if you do not have technical skills.
2.2 Technical Environment
To install a PrestaShop store locally, you will only need:
- A computer with a macOS or Windows operating system
- An internet connection
- A web browser (Chrome, Firefox, Opera, Edge, Brave, Safari, Arc…)
- At least 3GB of free space on your storage space
3. Installation
To install a local store, you will need to complete the following steps, which are elaborated on just after:
- Install a local server application
- Download the installation zip from the PrestaShop website
- Paste the 3 files contained in this zip into a folder on your local server
- Start the servers and initiate the installation of the store from your web browser
- Create a database from the web management application for database management systems (included with your local server application) and link it to your store.
- Rename or delete the install folder from the folder containing your store files.
Here are the details of these steps:
3.1 Install a local server application.
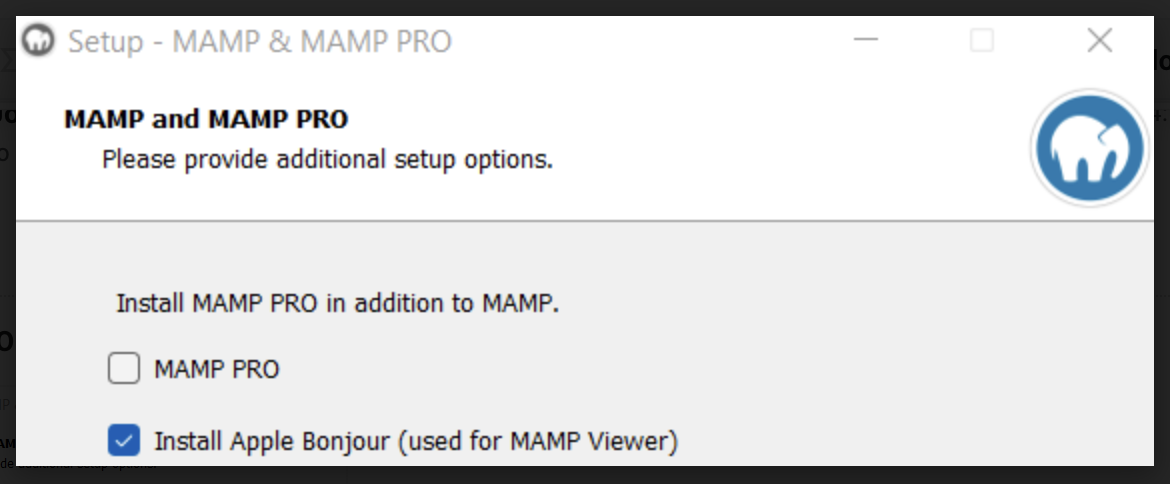
We advise you to install the free MAMP suite. Please select the version corresponding to your operating system.
You may uncheck the MAMP PRO box when prompted, as you will not need it.
Then click on Next on each page (unless you wish to customize the installation options, of course).
Once the installation process is complete, you can find the MAMP folder in the following locations (if you have not manually changed the installation location):
- On macOS: /Applications/MAMP
- On Windows: /MAMP/
| 📝 Before the first ‘/’, this refers to the root of your storage space, commonly ‘Macintosh HD’ for macOS and ‘C:’ for Windows. |
3.2 Install the PrestaShop installation zip
You can download the installation zips from the PrestaShop website.
Preferably choose a recent version.
3.3 Paste the 3 files contained in this zip into a folder on your local server.
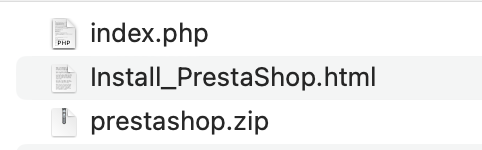
Start by extracting the content of the downloaded zip. You will thus retrieve 3 files in a folder:
- index.php
- Install_PrestaShop.html
- prestashop.zip
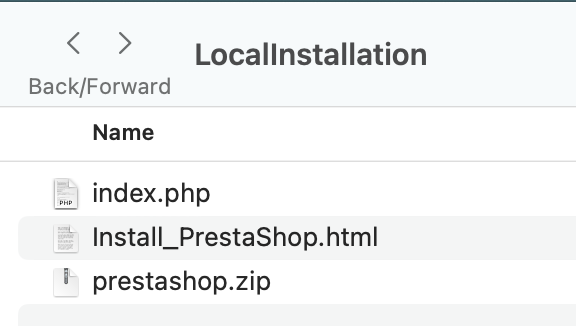
Copy these 3 files, then go to the 'htdocs' folder of your MAMP directory (see 3.1).
Create a folder there, and name it as you wish (without spaces and without accents). Let us take as an example a folder named LocalInstallation.
Paste the three files into this folder.
3.4 Start the servers and launch the installation of the store from your web browser.
Open the MAMP application; you will arrive at its interface.
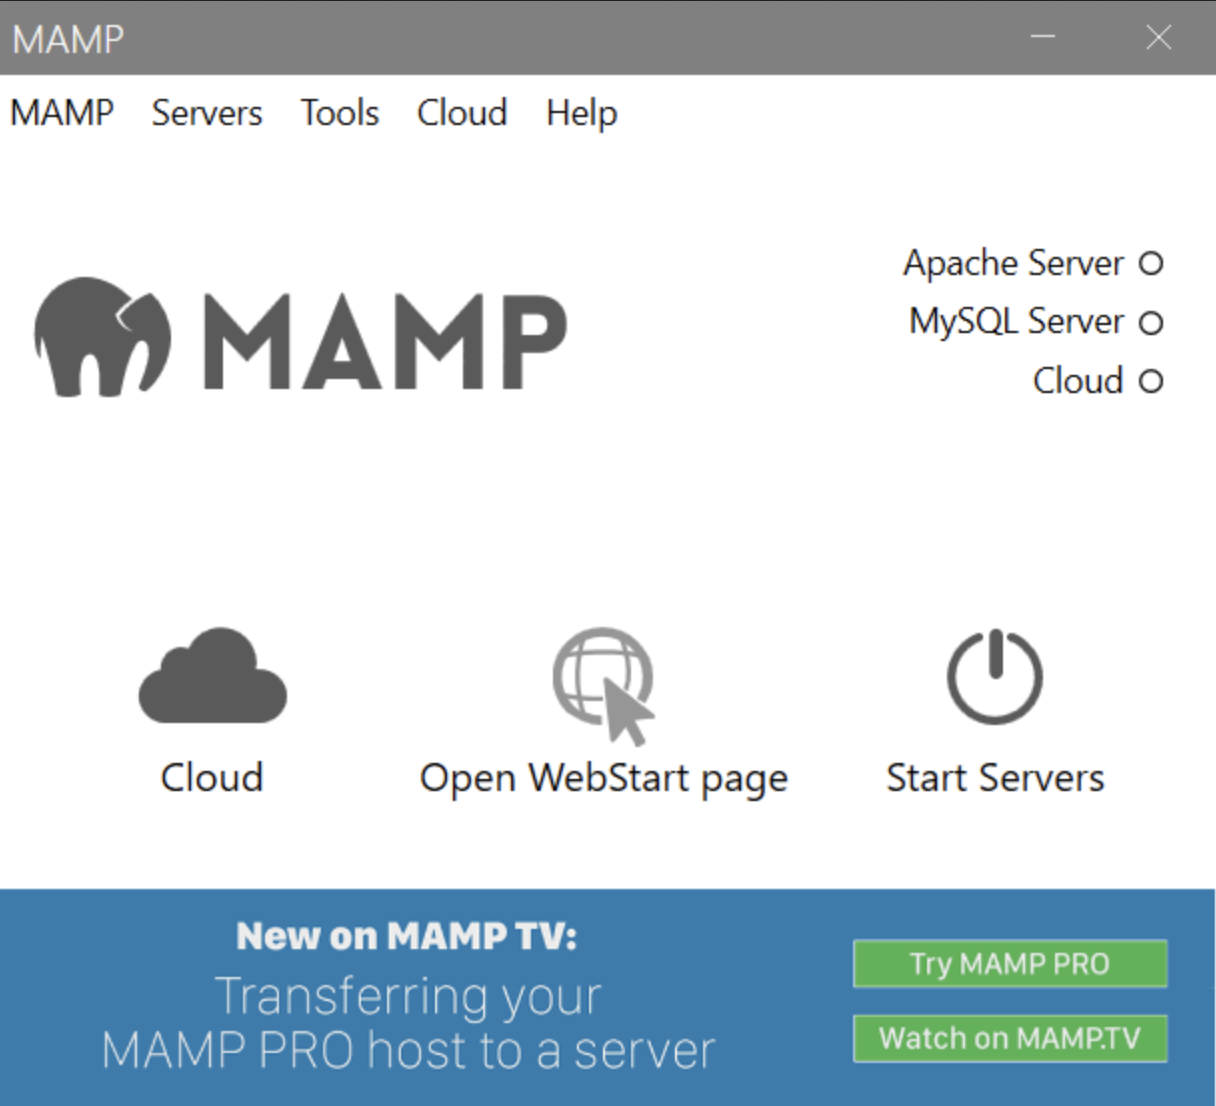
Then click on 'Start servers' on Windows, 'Start' on macOS.
Now open your browser and go to the following address:
- On macOS: localhost:8888/yourFolderName/
- On Windows: localhost/yourFolderName/
In this case, for the example of this article: localhost:8888/localinstallation/
The installation of PrestaShop is commencing. You will be able to see a progress bar indicating when the installation is complete.

You will then find yourself on the installation wizard for the initial settings.
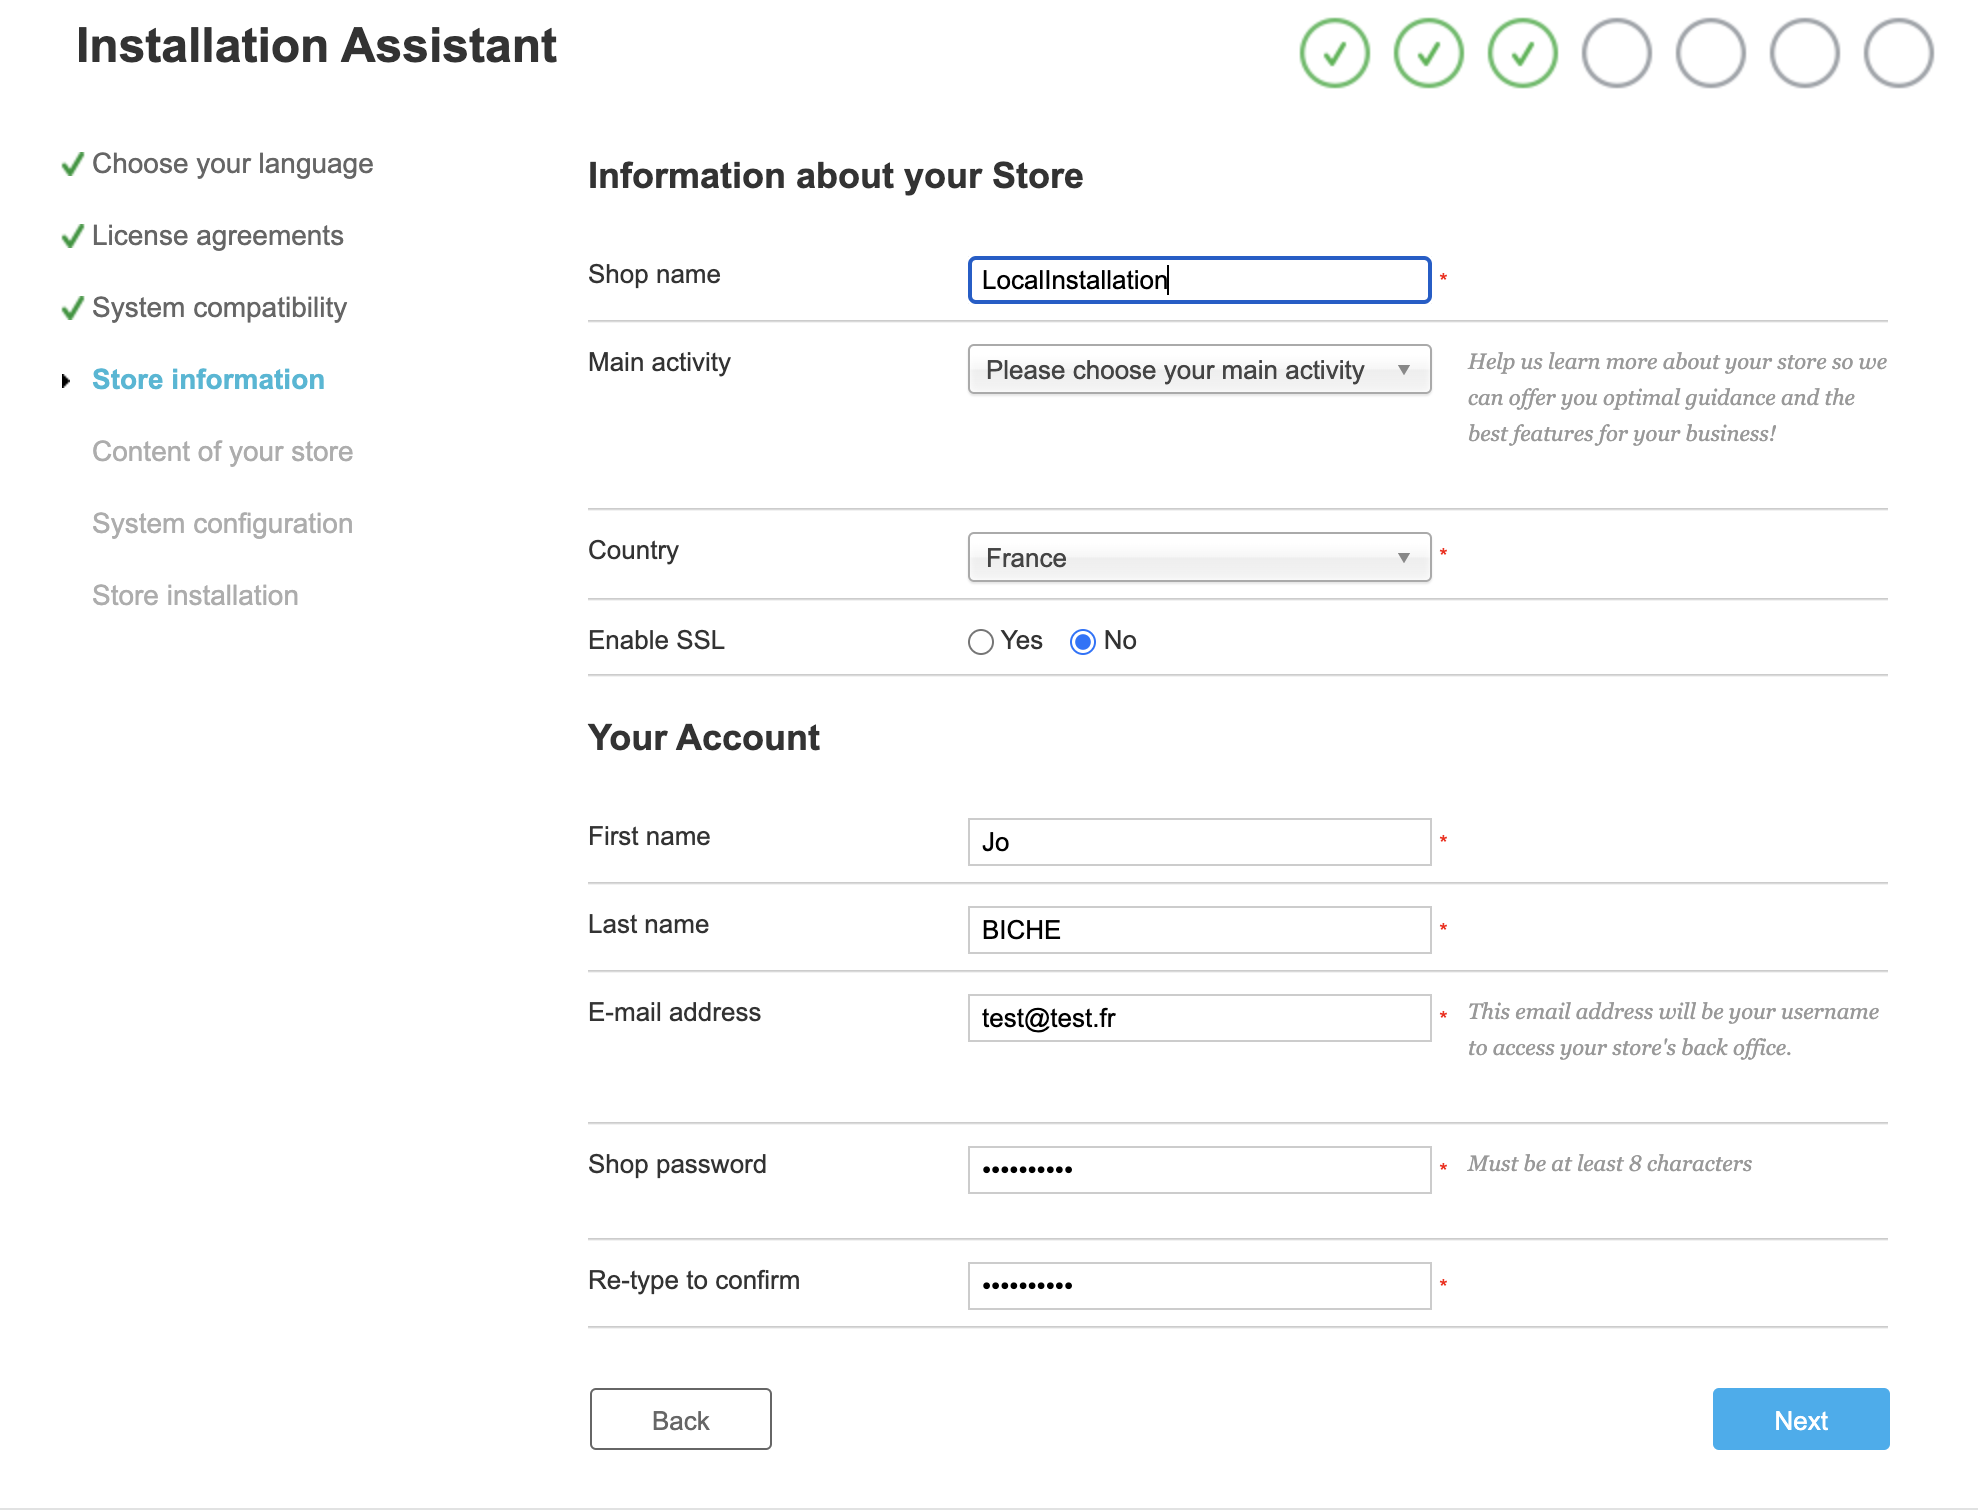
Please provide the information specific to your store, as well as your credentials.
Do not enable SSL, as this requires additional tools.
| 📝 The email and password provided here will serve as identifiers for your back office. Keep them safe! |
You will then arrive on the database configuration page.
3.5. Create a database and link it to your store.
Return to the MAMP application interface, and click on 'Webstart' or 'Open WebStart Page'.
On the page that has just opened in your browser, click on Tools and then PHPMyAdmin to access its interface.

Click on 'New' at the top left of the page to create a new database, and give it a name (of your choice, still without spaces and accents).
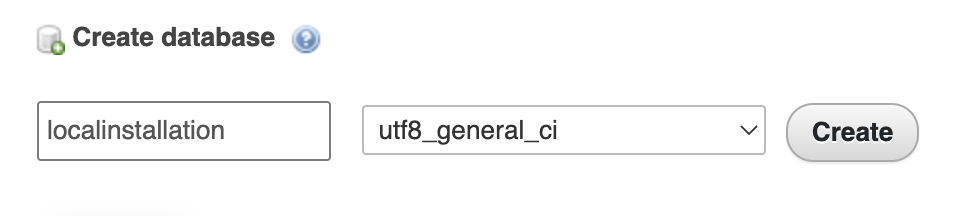
Click on Create, your database is created.
Return to the installation assistant, and enter the following information:
- Database server address:
- On macOS: 127.0.0.1:8889
- On Windows: localhost
- Database name: The name you have given to your database, here: localinstallation
- Database login: root
- Database password: root (if this does not work, leave the field empty)
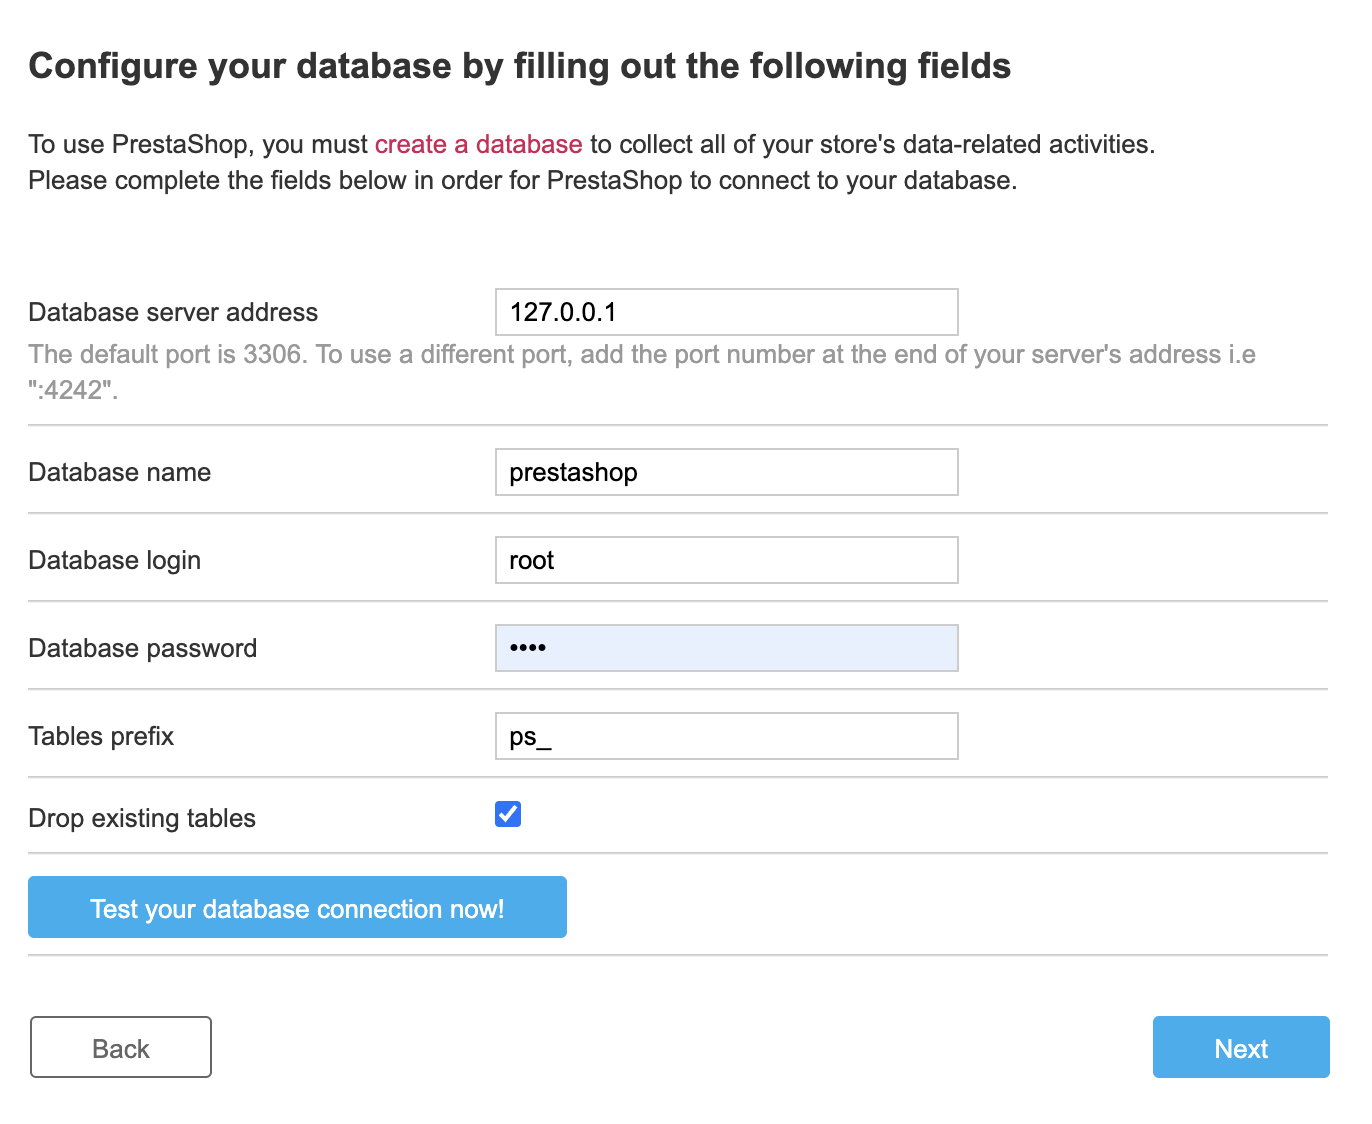
Click on "Test your database connection now!".
You should see the message "Database is connected" appear.

You may then click on 'Next' to complete the installation.
3.6. Rename or delete the install folder from the directory containing the files of your store:
You will arrive at a page displaying "Your installation is finished!".
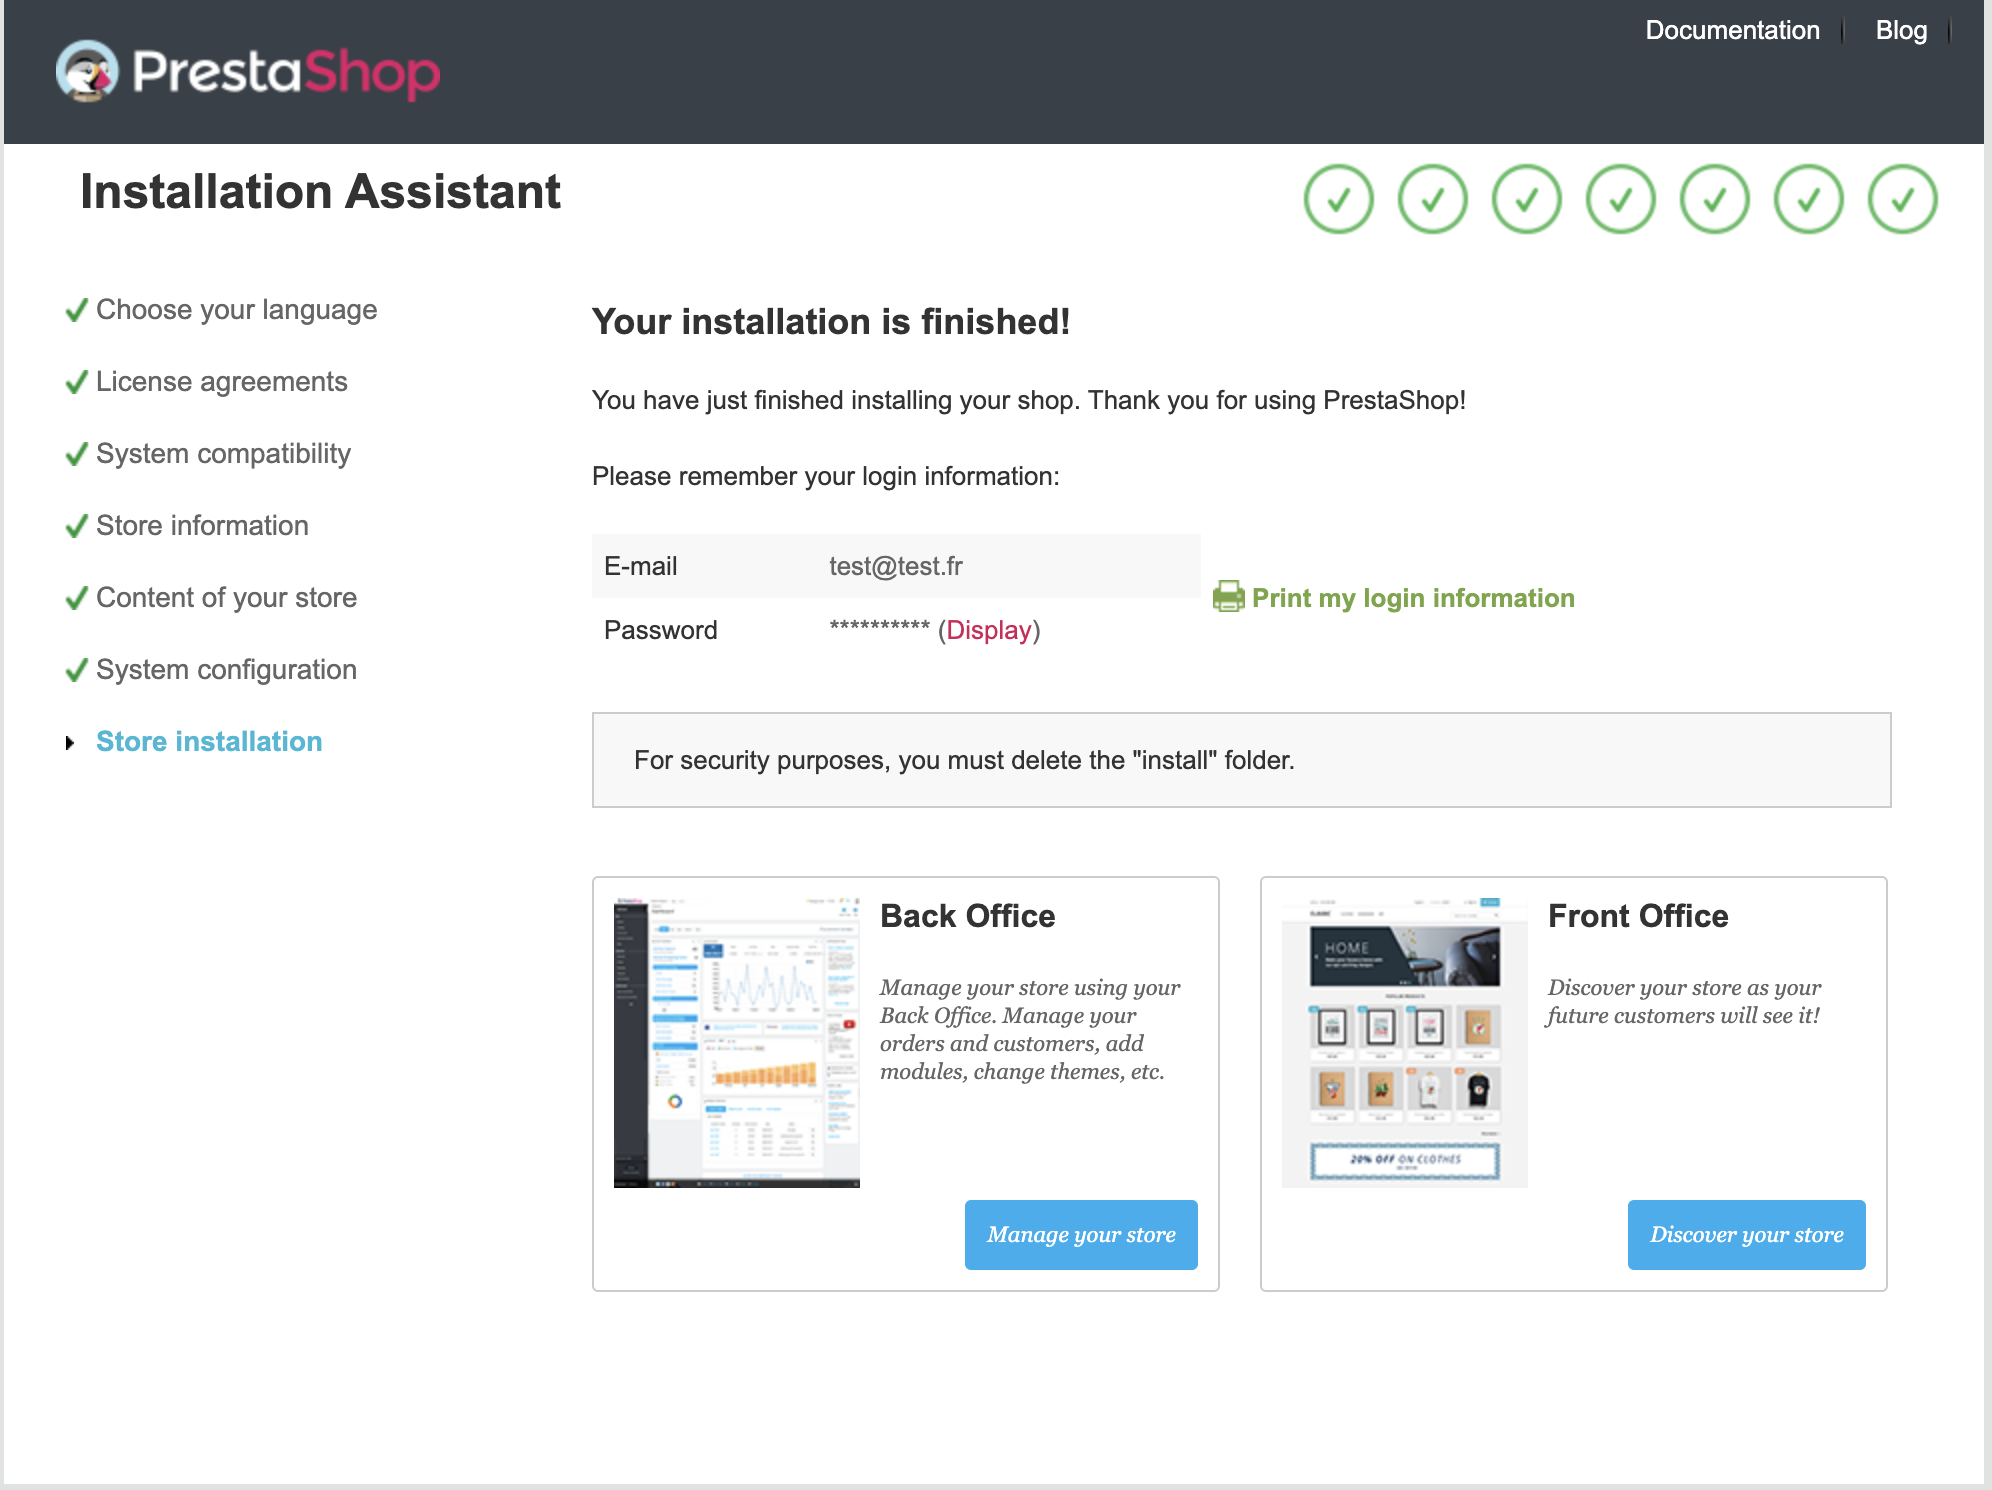
You must delete or rename the folder 'install', as indicated.
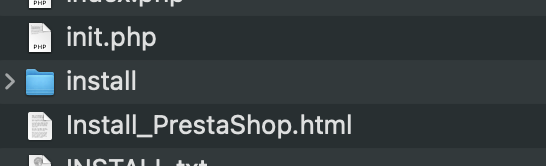
Therefore, go to the location /MAMP/htdocs/nameOfYourFolder (here /MAMP/htdocs/LocalInstallation) (see 3.3).
Locate the folder 'install' and rename it.
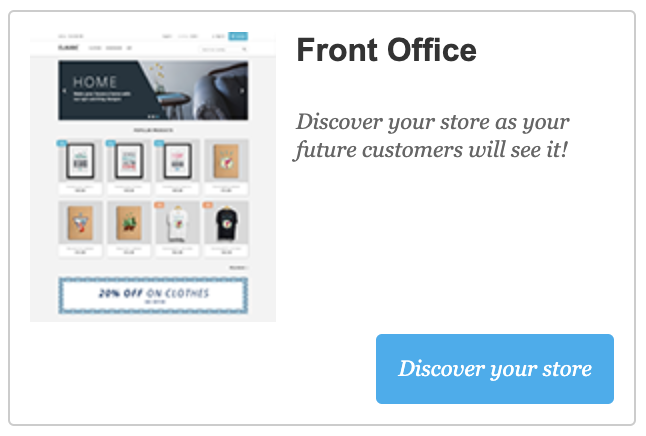
You can then log in to the front office:
As well as in the back office:
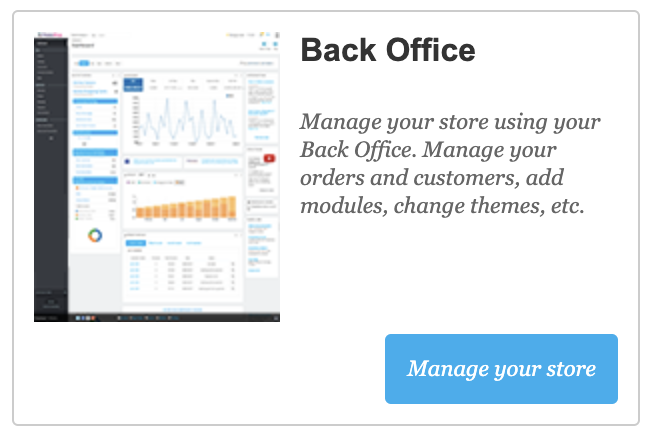
As a reminder, you can log in to the back office using the credentials defined during step 3.4.
4. Conclusion :
You now have a functional store installed on your computer. Please ensure that the MAMP servers are activated each time you wish to access this store. You can install as many shops as you wish via your local server, each shop will correspond to a folder in the /MAMP/htdocs/ location.
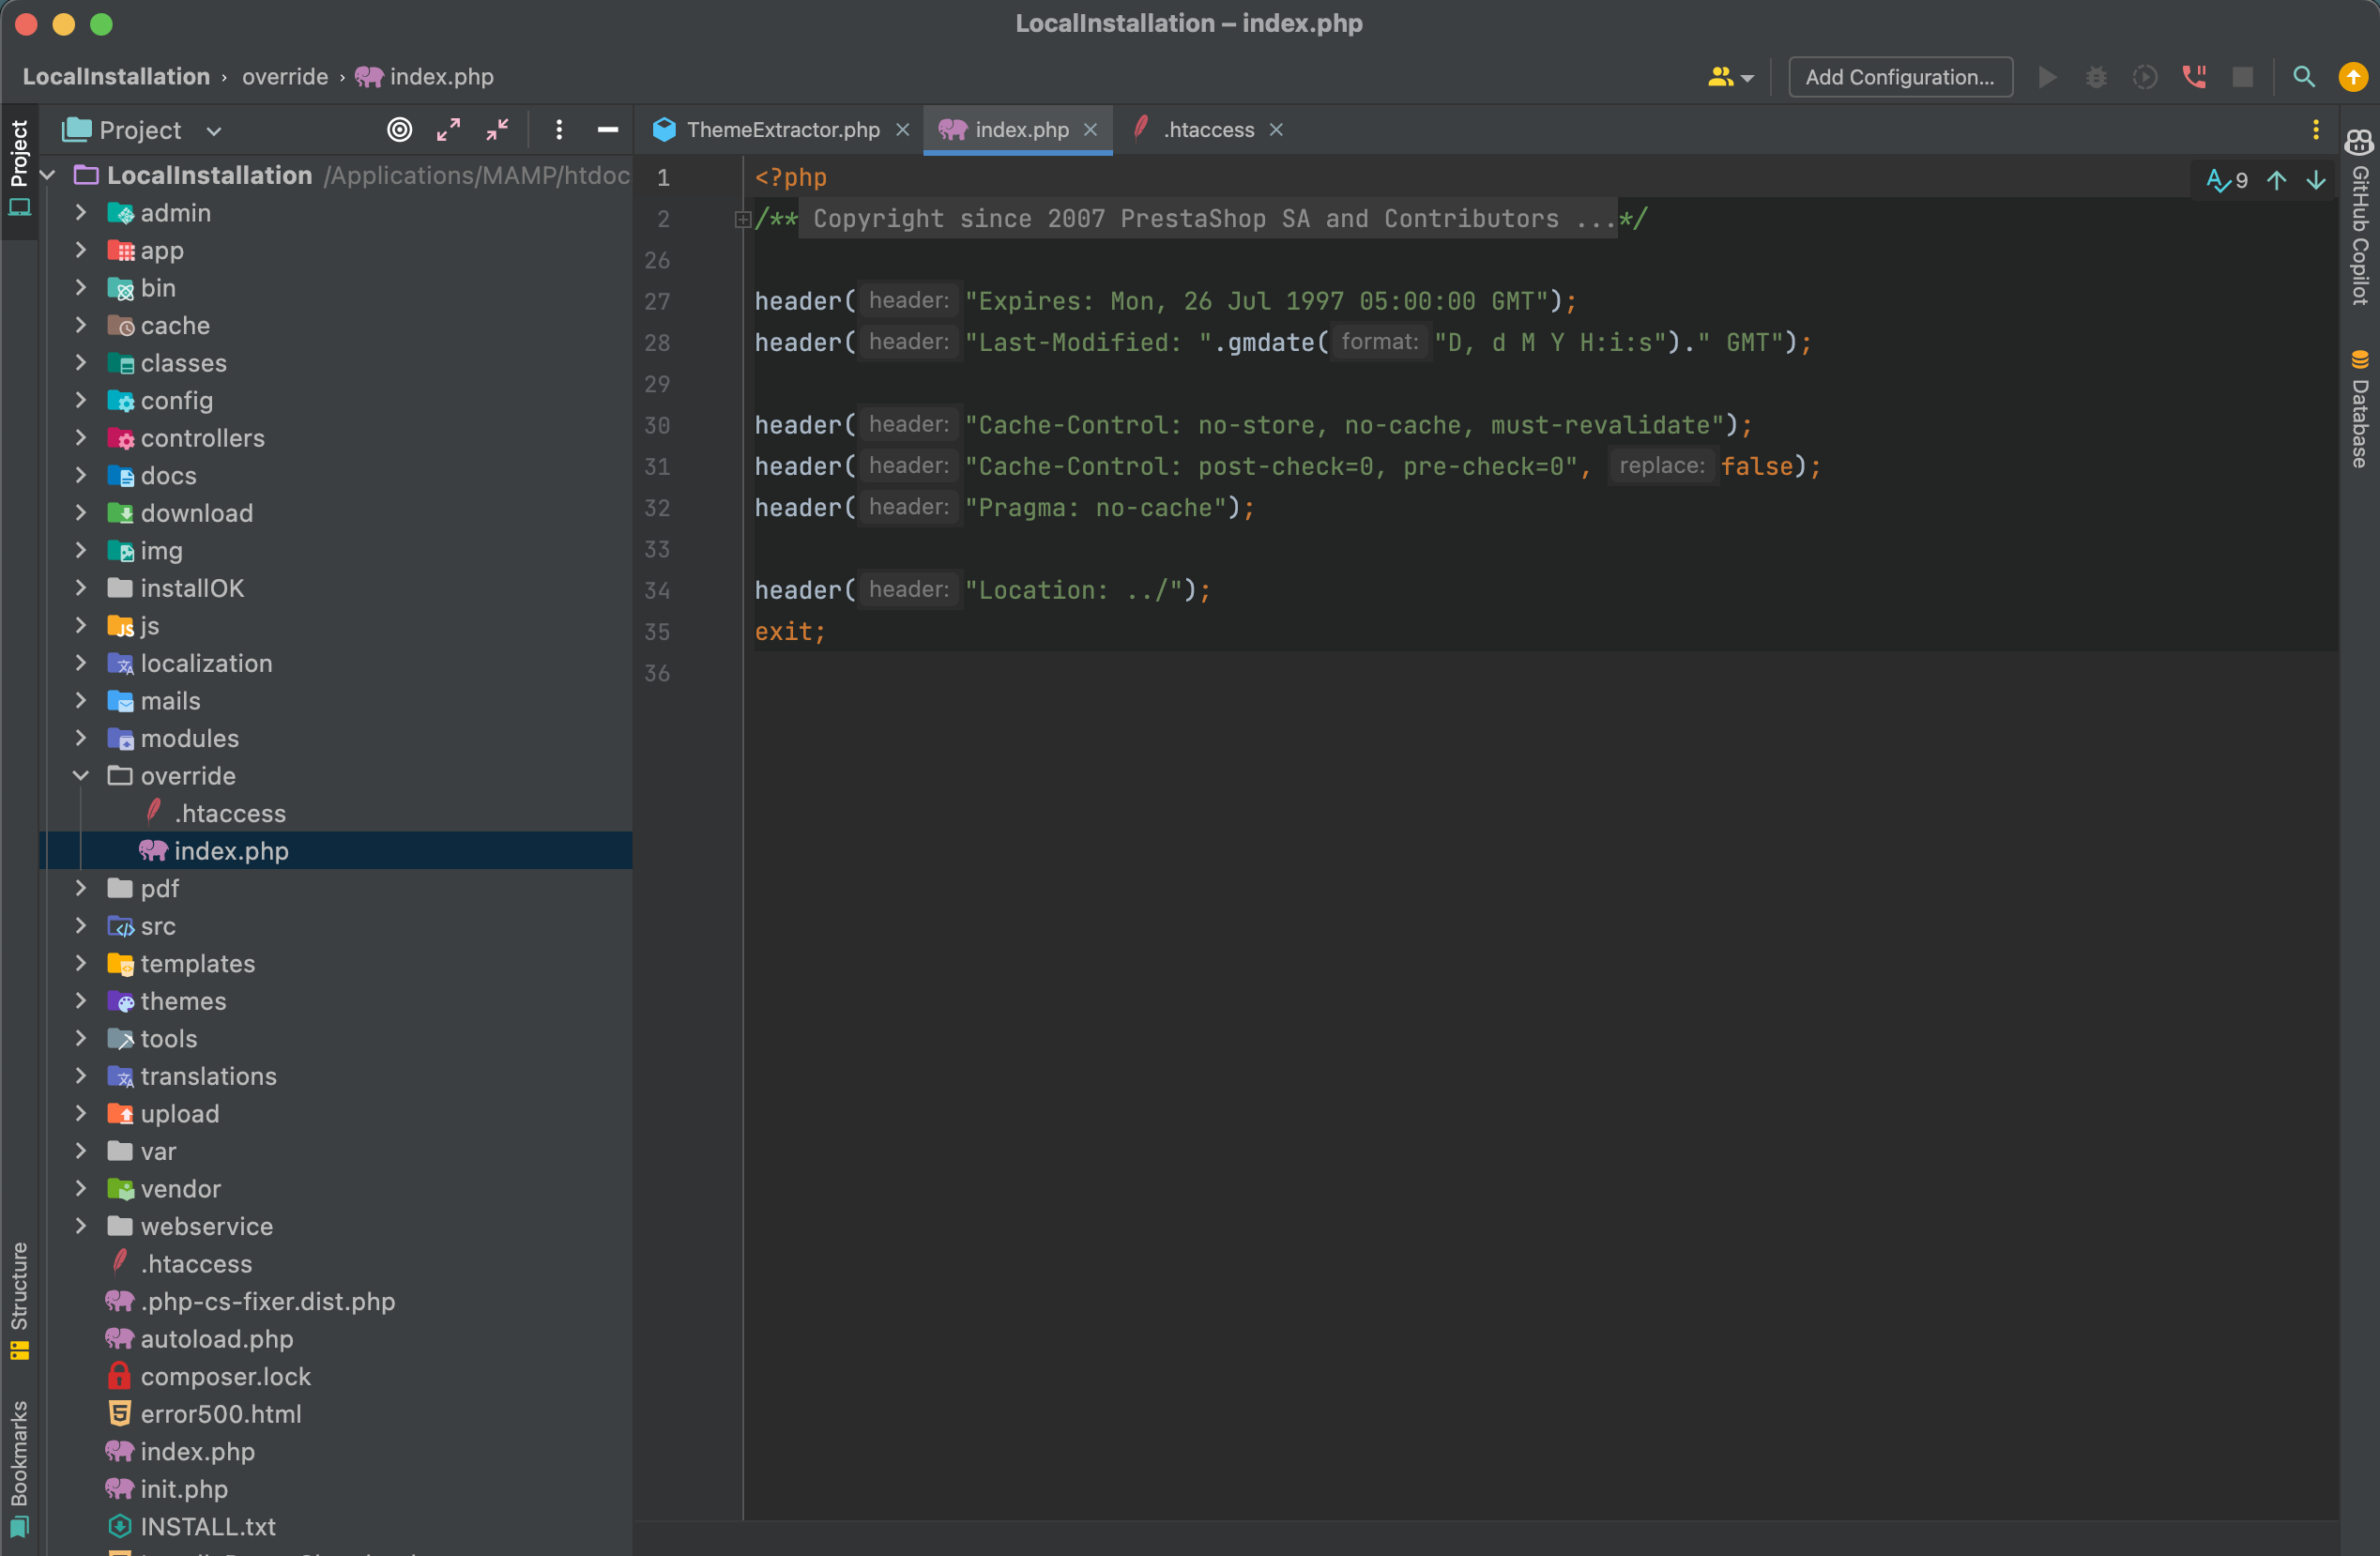
5. For developers only.
You can open the folder containing the shop files in your code editor in order to study the structure and make specific developments.