This second configuration step allows you to connect your store to your Facebook accounts in order to benefit from the features of PrestaShop Social.
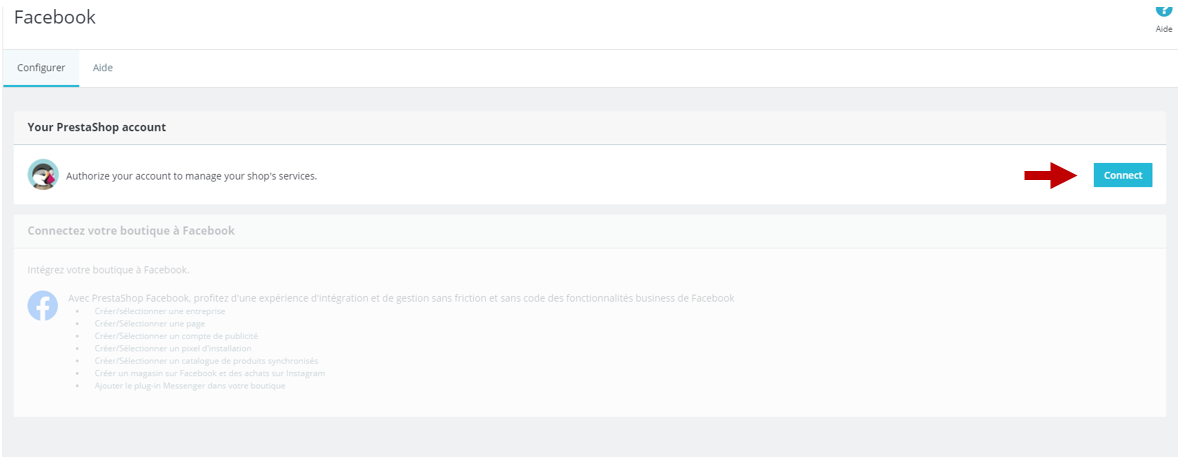
To do this, click on the connection button, and you will be redirected to a Facebook authentication window.
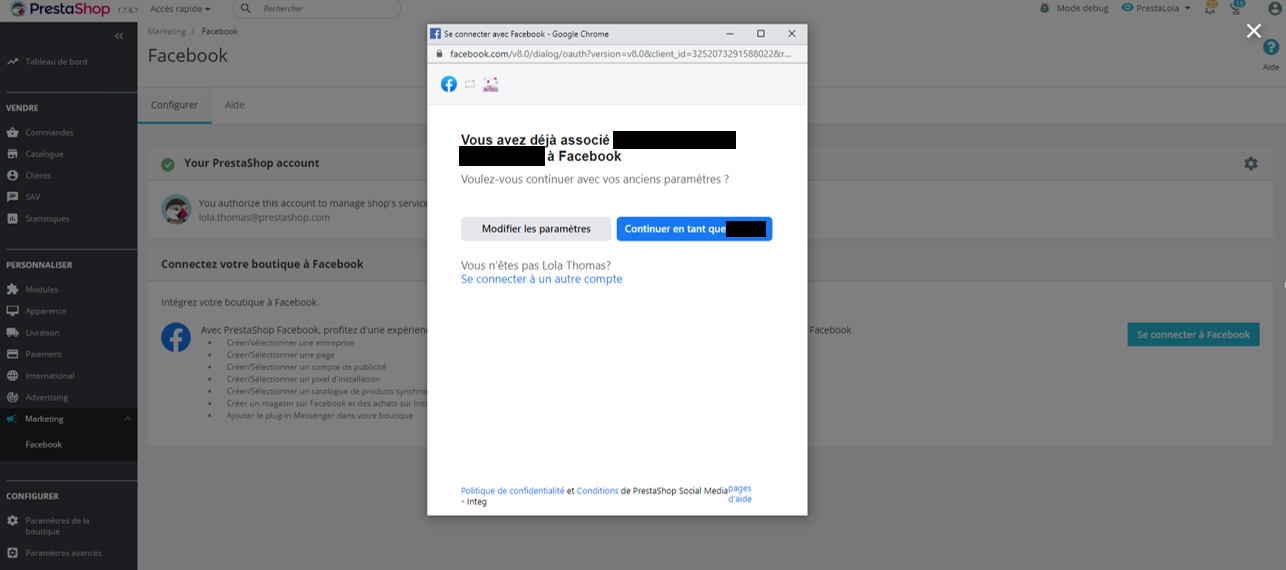
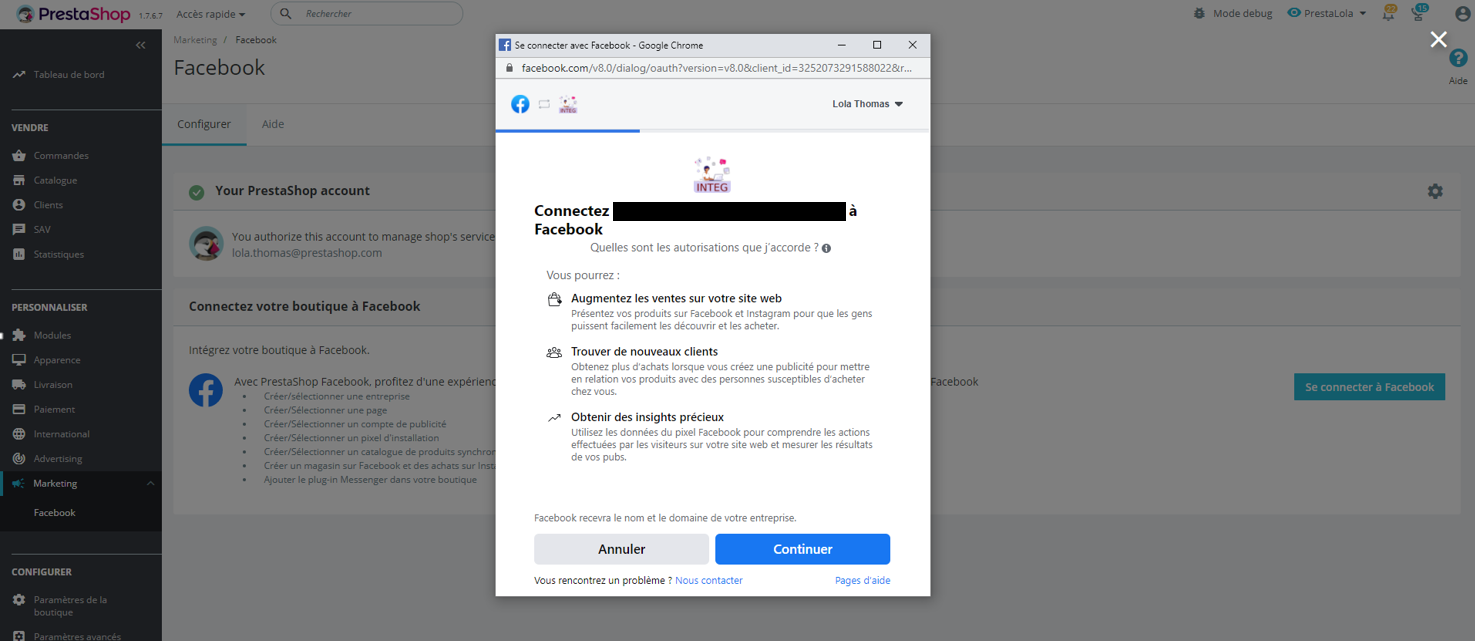
First, on the Facebook Business Extension identification interface, choose the Facebook account that you wish to associate with your store. Click on Continue to authorise access to your account.
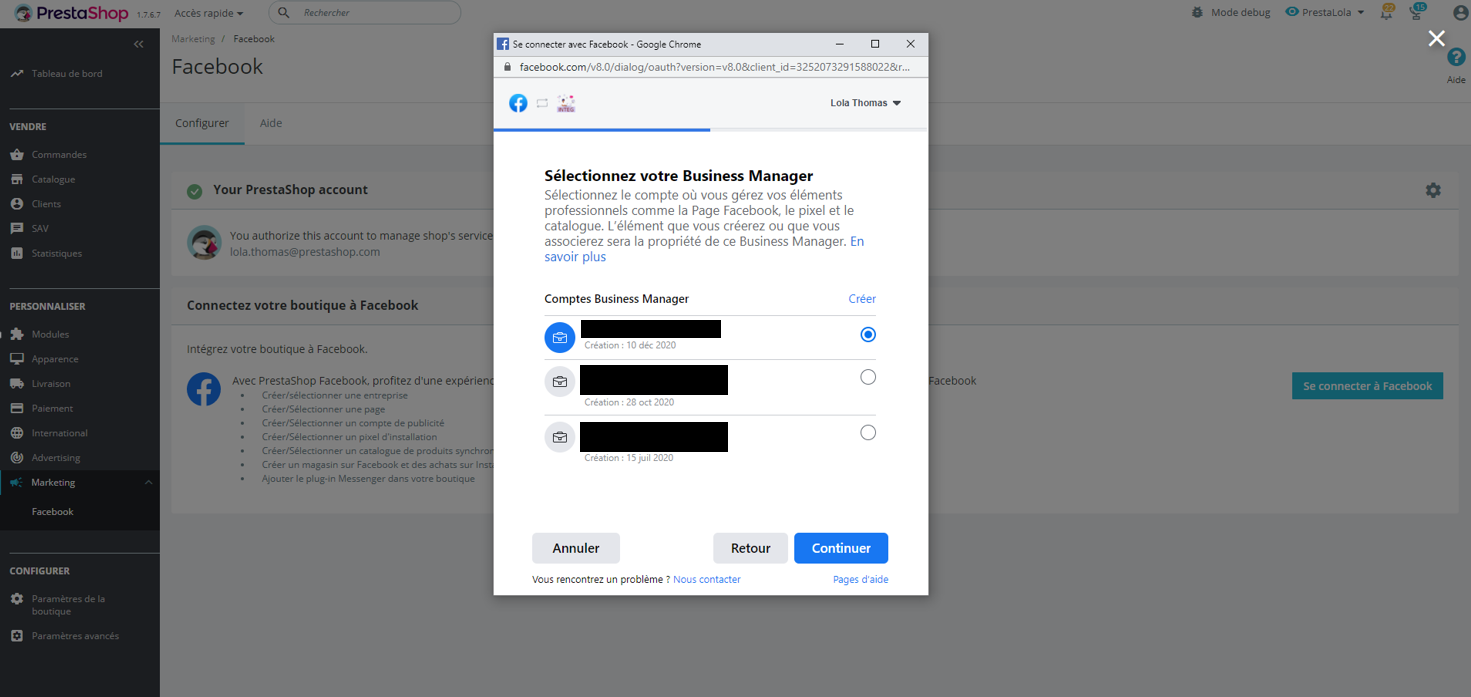
Once identified, Facebook automatically detects your Business Manager accounts. These are the accounts from which you manage your Facebook Page, your catalog, and your Pixel. Choose the account you wish to associate with your store or create a new account by clicking on Create.
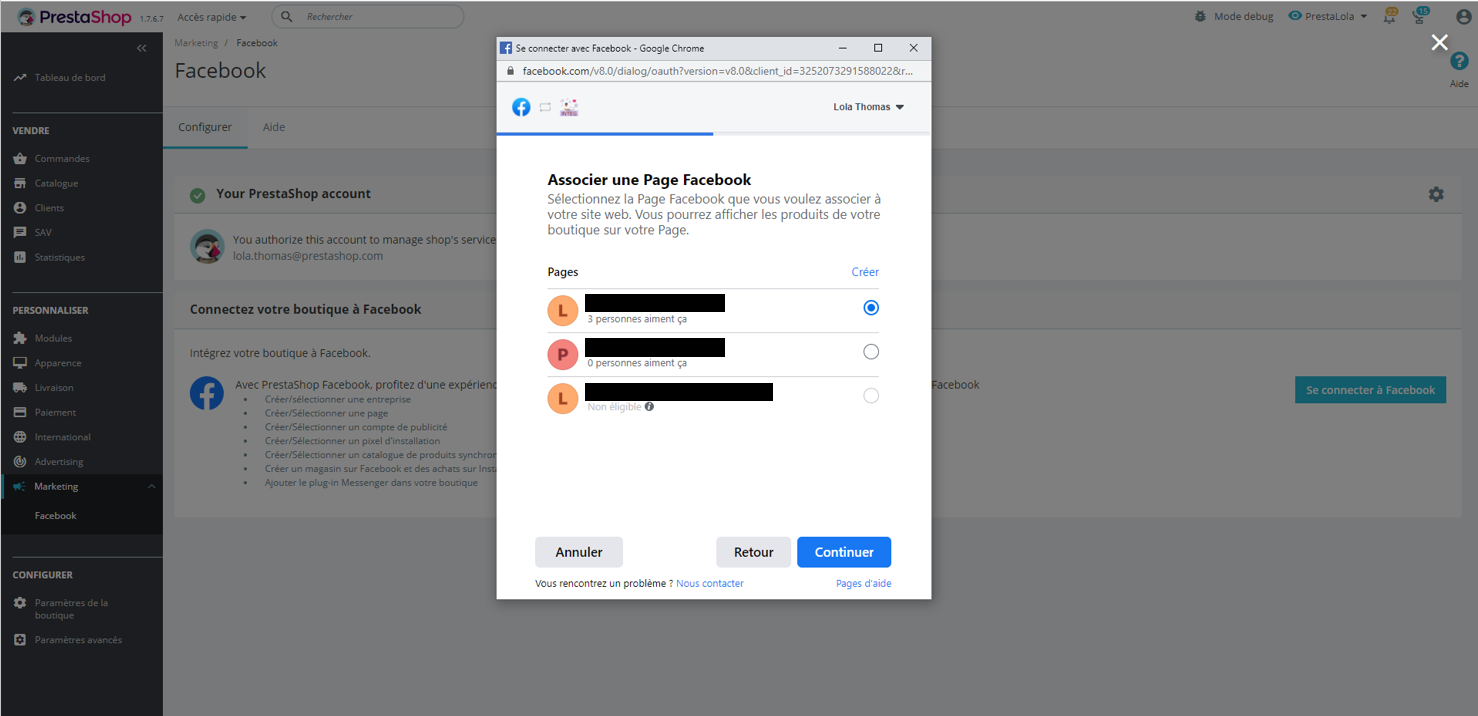
Now select the Facebook page you wish to associate with your PrestaShop store. It is on this page that you will present your products to the billion users of Facebook and Instagram. If you do not yet have a Facebook page for your store, create a new page by clicking on Create.
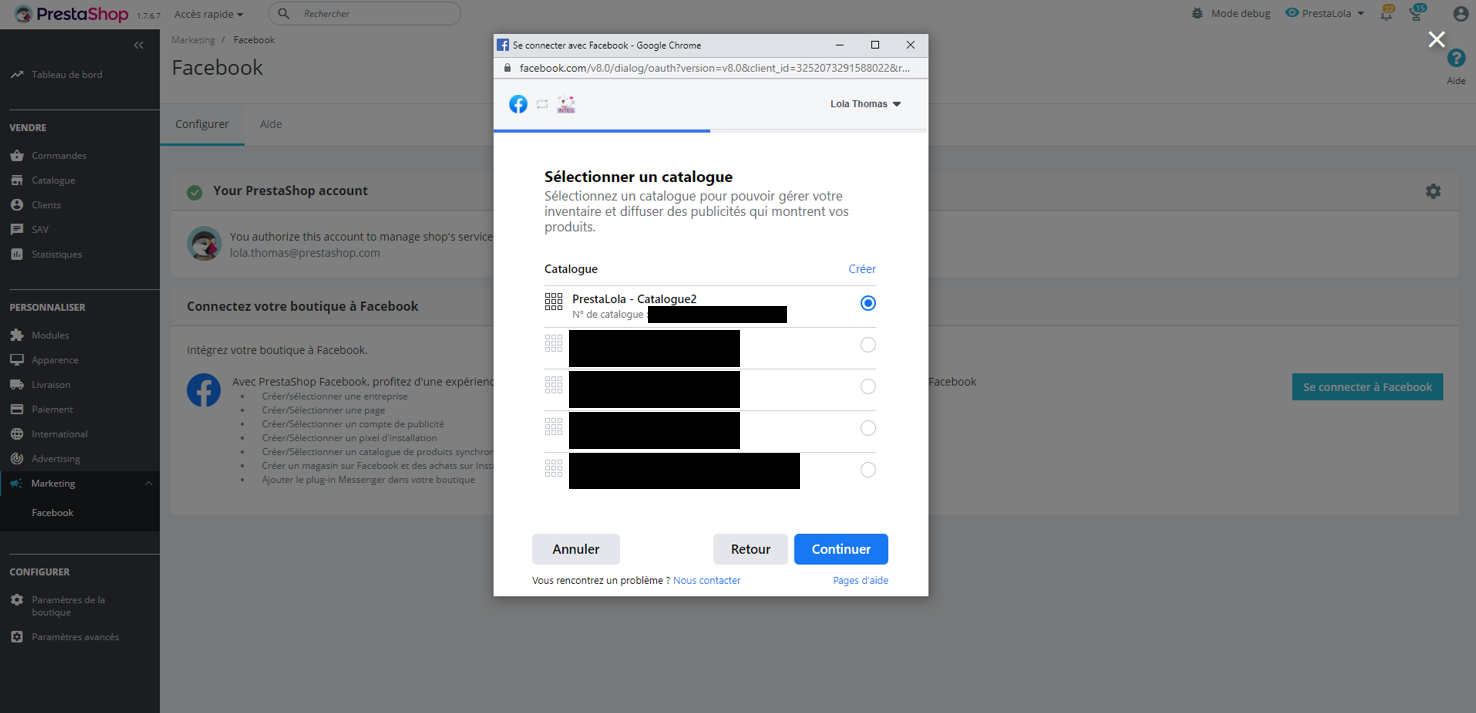
Then, select the catalog that you wish to associate with your PrestaShop store. It is from this catalog that you will be able to publish your products. To create a new catalog, click on Create.
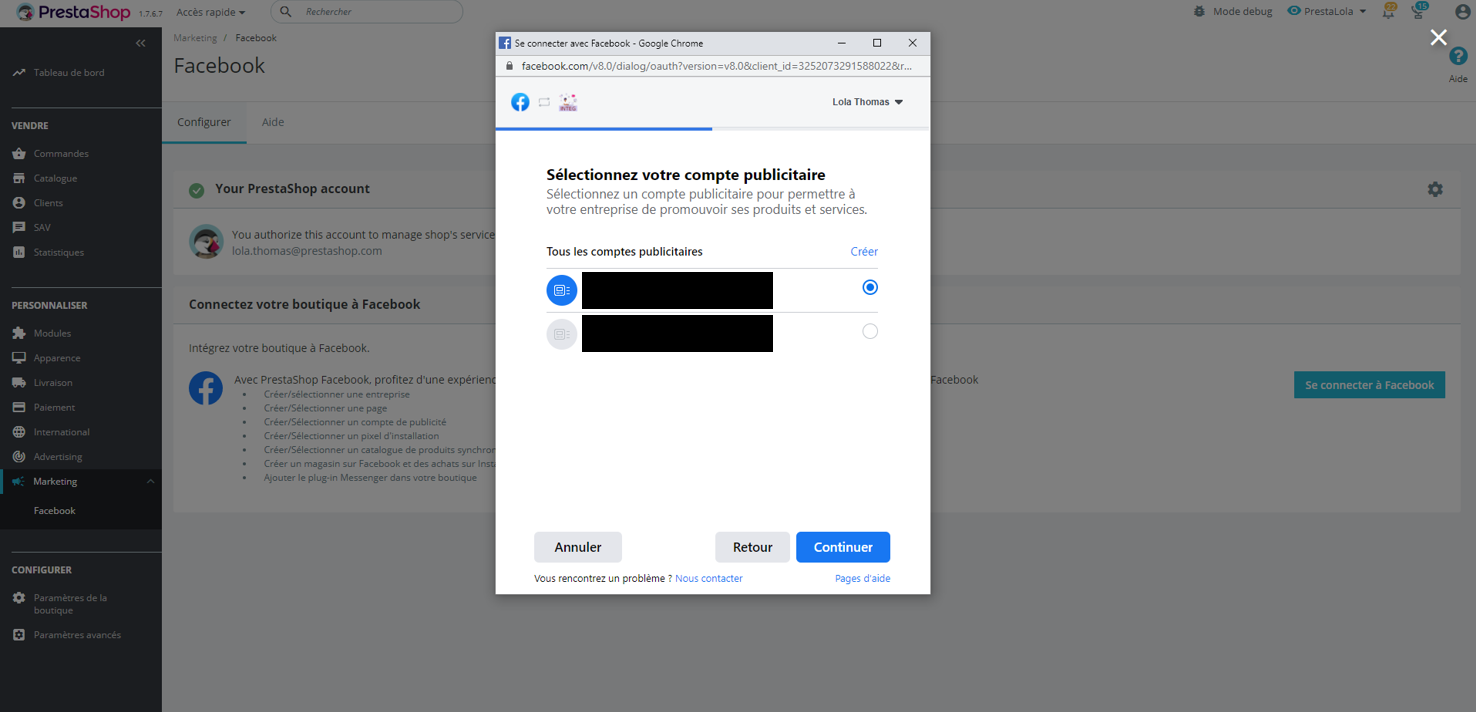
It is now time to select your advertising account. This account will allow you to create and broadcast advertising campaigns. If you do not yet have an advertising account, create a new one by clicking on Create.
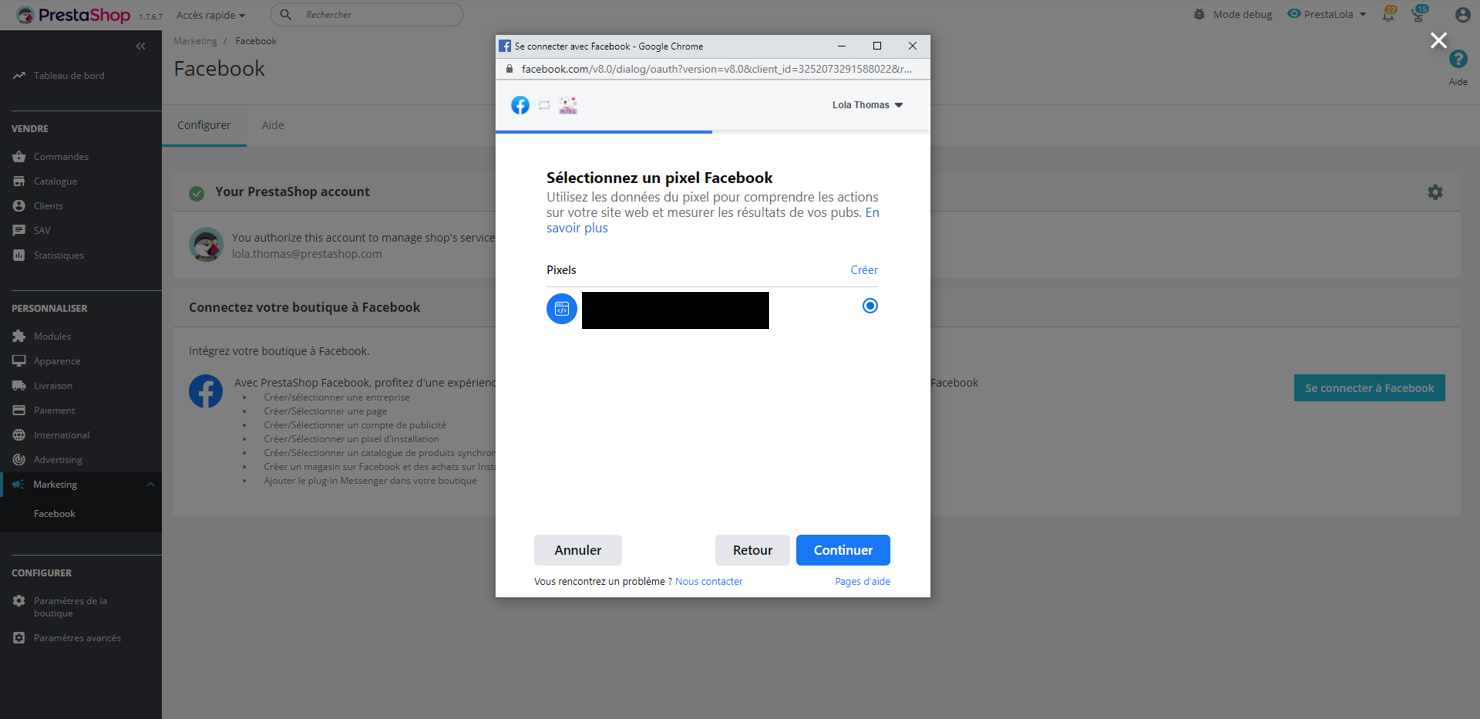
Finally, select your Facebook Pixel. The Pixel is the tool that allows you to analyze the actions of visitors on your e-boutique so that you can subsequently create more personalized audiences for your advertisements. If you do not yet have a Facebook Pixel, create a new one by clicking on Create.
Please then check your information and confirm your settings by clicking on Continue.
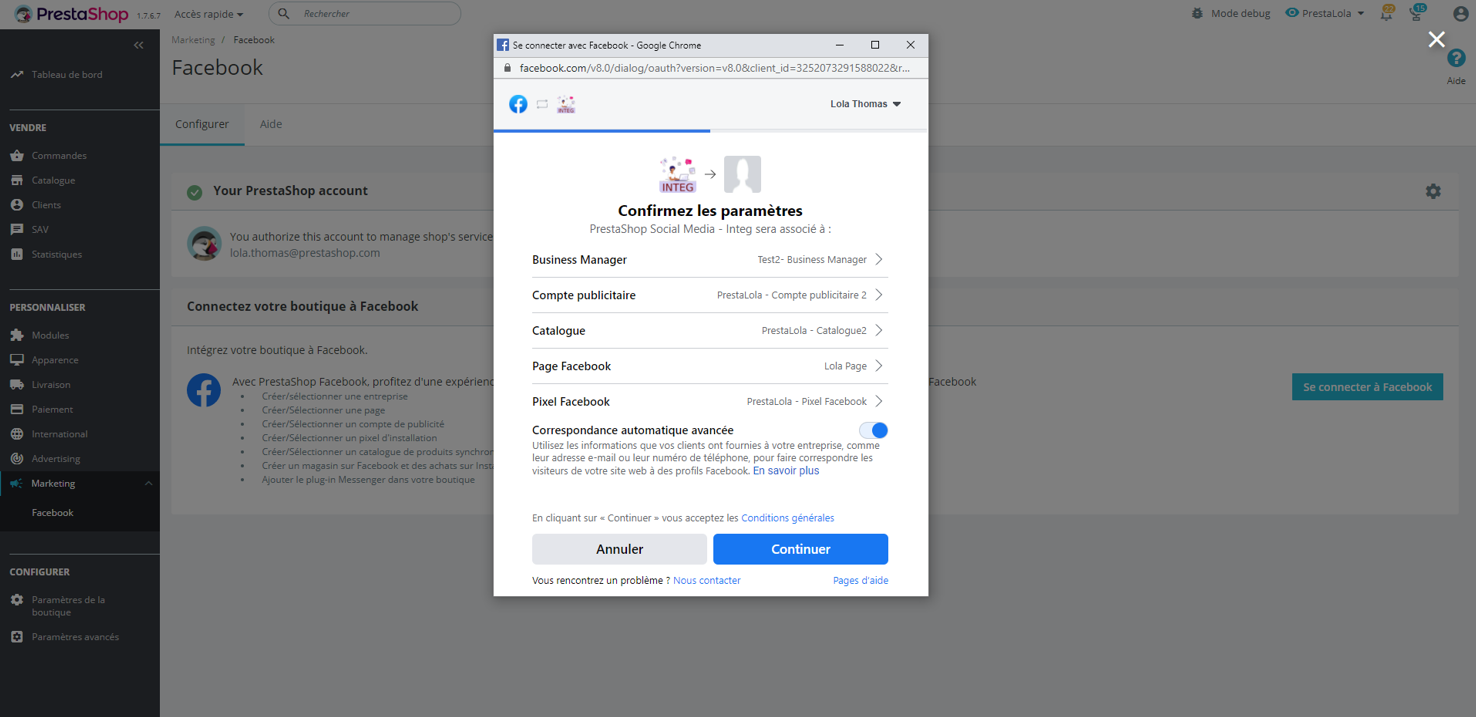
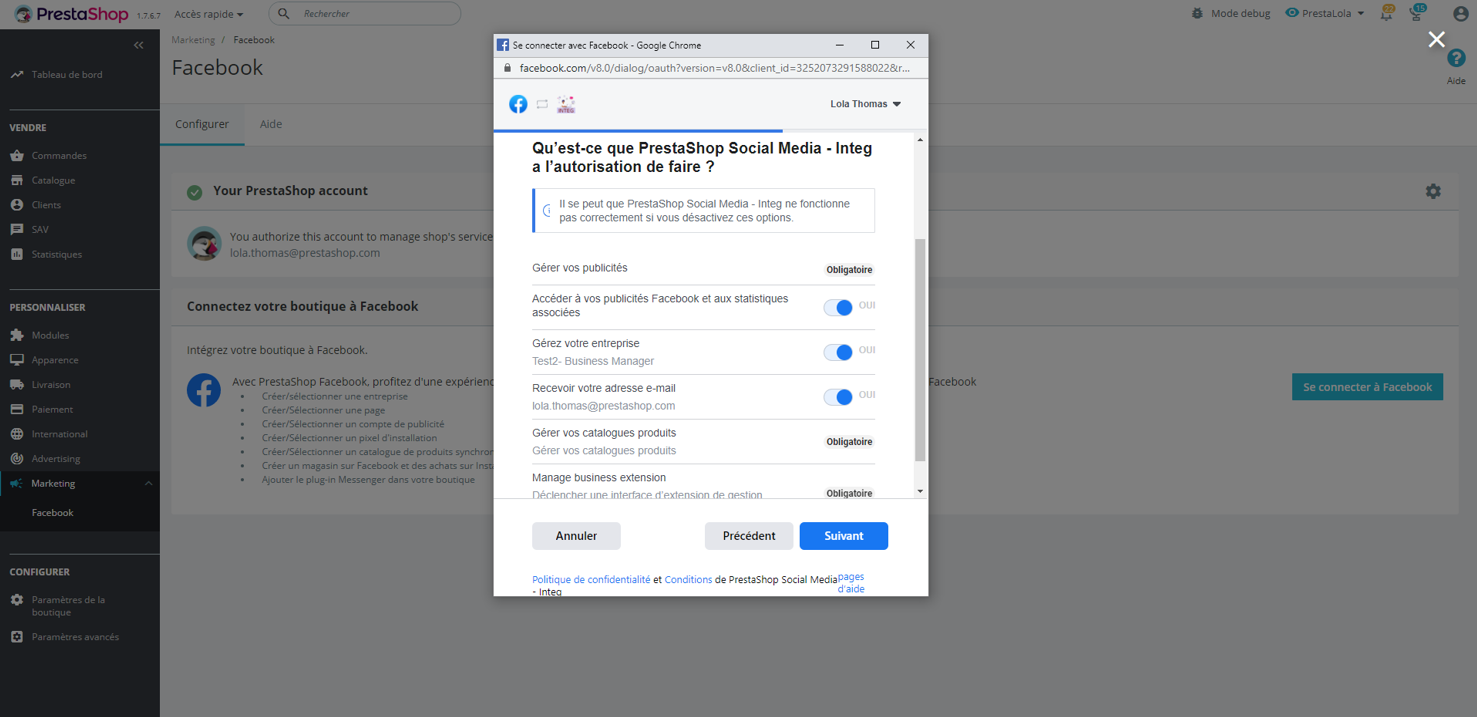
Authorise PrestaShop Social to connect to your information so that the module can function optimally. Click on Next to complete the configuration.
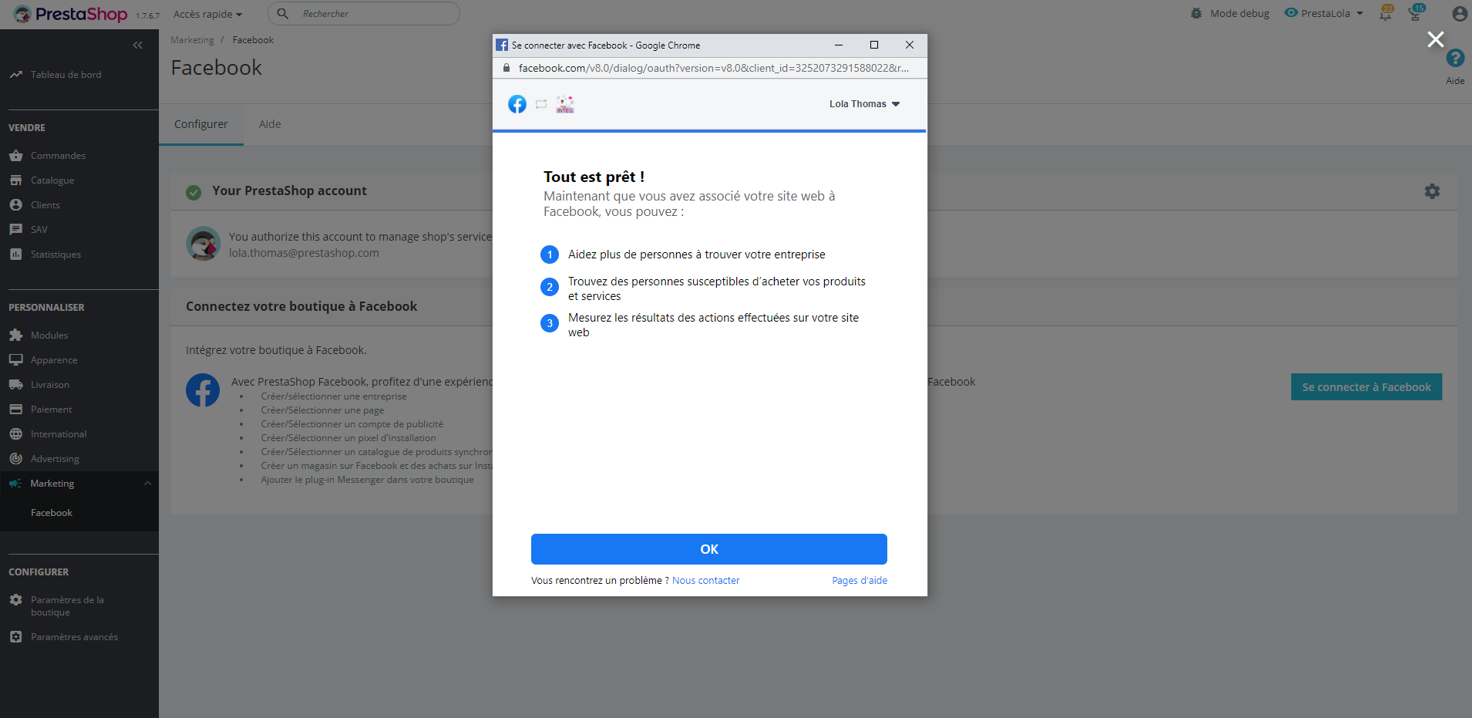
We're there! All your Facebook accounts are connected to your PrestaShop store. PrestaShop Social is now configured and operational.
Comments
0 comments
Please sign in to leave a comment.