Variations allow you to sell the same product in different versions. How to add product variations in PrestaShop? Follow the guide!
To access it: Catalogue > Attributes & Characteristics
What is a variant?
A variant is a different version of a product. For example, if you sell smartphones, the same model may vary according to color, storage capacity, screen size, or other attributes: each version of this product constitutes a variant.
|
⚠️ The variations are constructed from the attributes. Begin by defining all the attributes of your products before creating your variations. |
Manage the attributes of a product.
What is an attribute?
Attributes are the basis for the variations of a product. Indeed, as soon as one of the attributes of your product changes, you can create a variation.
An attribute is a property of a product that may change between each variation of the same product. Size, color, capacity, or weight are attributes, for example.
Where can one access the attributes?
The attributes must first be registered in your back office from the page Catalog > Attributes & Characteristics. You will then be able to configure the attributes (color, capacity, weight, etc.) by product, on the page Catalog > Products.
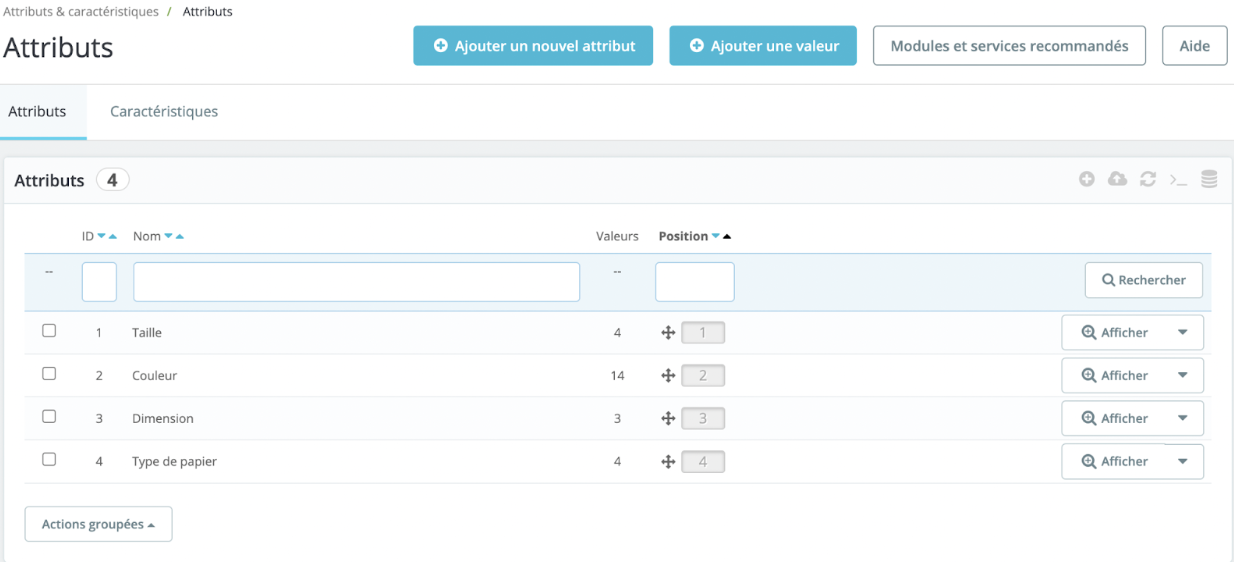
The "Attributes" tab lists all the attributes currently registered. You can modify or delete each attribute using the actions on the right side of the table. You can also configure the order of the attributes using the arrows in the "Position" column.
The process of creating an attribute occurs in two stages: the first stage involves creating an attribute, and the second stage involves creating a new value.
Creation of an attribute.
To add a new attribute, click on the "Add a new attribute" button located at the top right of the screen. A new page opens where you can enter your attributes:
- Name: the exact description of the attribute, as visible in the back office.
- Public name: the name of the attribute, as it will be displayed to the customer on the product page.
- Attribute type: choose how the product page should display the values of the attribute. You can choose between a dropdown list, radio buttons, or a color/texture selector.
Once the information has been entered, click on 'Save' to validate it.
Creation of a value.
- Click on "Add a value" at the top right to open the form for creating a new value.
- Select a group of attributes from the following options: size, color, dimensions, etc. Provide a value for the attribute you have just selected: "Blue", "16 GB", etc.
- If you wish to change the URL automatically set by PrestaShop, fill in this field.
- Add a title tag to optimize your SEO with a title that is more precise than the one proposed by PrestaShop.
| 💡 To learn everything about SEO, do not hesitate to consult our dedicated article. |
If the value belongs to the attribute group "Color", then new fields will be displayed.
- If the attribute is a color, enter its value as an HTML color code (for example, "#79ff52" or "lightblue"), or use the color picker to show the exact shade.
- If your product does not use a solid color but rather a texture (for example, if you sell hair extensions, instead of putting a yellow color for a blonde strand, you can upload a photo of a strand), you can upload a small image that will be displayed on the product page. Please note that this replaces the HTML color in the field above. Click on the "Save" button to initiate the download.
Once you have uploaded a texture file, the image is displayed in this section as a reminder. You may add additional values for the same type of attribute by saving your changes with the "Save then add a new value" button.
Once the creation of attribute groups and values is complete, you may proceed to the creation of variations.
Creation of a variation
Return to the product creation page. Select the option 'Product with variations' at the top right of the page to activate the 'Variations' tab.
In this tab, select the various values that you will assign to your product. To do this, check the boxes corresponding to the different values created previously.
Once the boxes are selected, click on the "Generate" button. You will thus obtain all the desired variations based on your selection.
How to use the additional parameters?
If your sweater in size S is charged €5 more by your supplier, you can pass this increase on to the final price paid by your customer by using the additional parameters. These additional parameters can apply to several variations simultaneously.
- Check the boxes corresponding to the variations you wish to act upon.
- Define the parameters you wish to apply to your selection.
You will thus be able to define the following elements:
- Quantity: define the number of units in stock for this variant.
- Purchase price: if the initial price of the product changes because it is a variant.
- Impact on weight: if the variation involves a change in weight that may affect delivery costs.
- Impact on price (excl. tax): if the variation has an impact on the price excl. tax, please fill in this field with the value of that impact.
- Impact on price (incl. tax): if the variation has an impact on the price incl. tax, please fill in this field with the value of that impact.
For example, the final price of your product is €10 excl. tax. Now you wish to add €7 excluding tax impact on the final price for your blue products. Select the variations you wish to act on, then enter the number 7 in the "Impact on price" field.
- Availability date: if it is only a temporary or promotional variation, you can indicate the start and end dates of its sale.
- Reference: if necessary, indicate the reference of the variation and the EAN-13 and/or UPC barcodes in each field, as if you were creating a brand new product in PrestaShop.
- Minimum quantity: if this variant is sold only in bulk.
How to add images to the variants?
You may choose to attach a specific image to a variant to allow the user to gain a clearer idea.
Upload photos by clicking on the 'Basic Settings' tab in the 'Variants' section, then click in the designated area for uploading images. The images will appear in the designated area.
You will only need to edit each variation by clicking on the pencil and assigning the photo you wish to this variation.