PrestaShop allows you to import a large number of categories from a file to build your catalog. Follow the guide!
To access it: Advanced Parameters > Import
The process of importing categories (2) is very similar to the process of importing files. To import your categories, you simply need to download the template file (4) made available on the Advanced Settings > Import (1) page.
How to prepare your categories file?
Open the downloaded template file to start filling it out. Each column corresponds to a field in the back office. The number of fields to fill in varies according to the nature of the items you wish to import (3).

- ID: the unique identifier of your products. You can find it in your product sheet.
- Active: 0 allows you to add this category to your store but keep it disabled, 1 allows you to add it and activate it.
- Name: the name of the category.
- Parent category: the main category of your category.
- Root category: the category that can serve as a starting point for a category tree. This type of category is particularly used in multi-store environments.
- Description: the description of your category.
- Title tag: the clickable link that will appear in search engines.
- Meta keywords: the keywords that allow access to your store on search engines.
- Meta description: the two lines of presentation that appear under your link in search engines.
- Rewritten URL: if you are not using multi-stores, leave this field empty in order to use the default store.
- Image URL: the URL associated with your image.
- Store ID or name: if you are not using multi-stores, leave this field empty in order to use the default store.
Once your file is complete, do not forget to save it, then select it (6).

How to configure your file?
Once your file is selected, specify its settings so that it is properly read by PrestaShop. The provided elements will thus be correctly rendered in your back office once the import of the file is finalized.
- File language: select the language of the imported categories (one file per language).
- Field separator: leave the default value of ";". You may modify the separator in the case of a .csv file that does not contain the value ";".
- Multiple value field separator: leave the default value of ",". You may modify the separator in the case of a .csv file designed differently.
Then select the import settings:
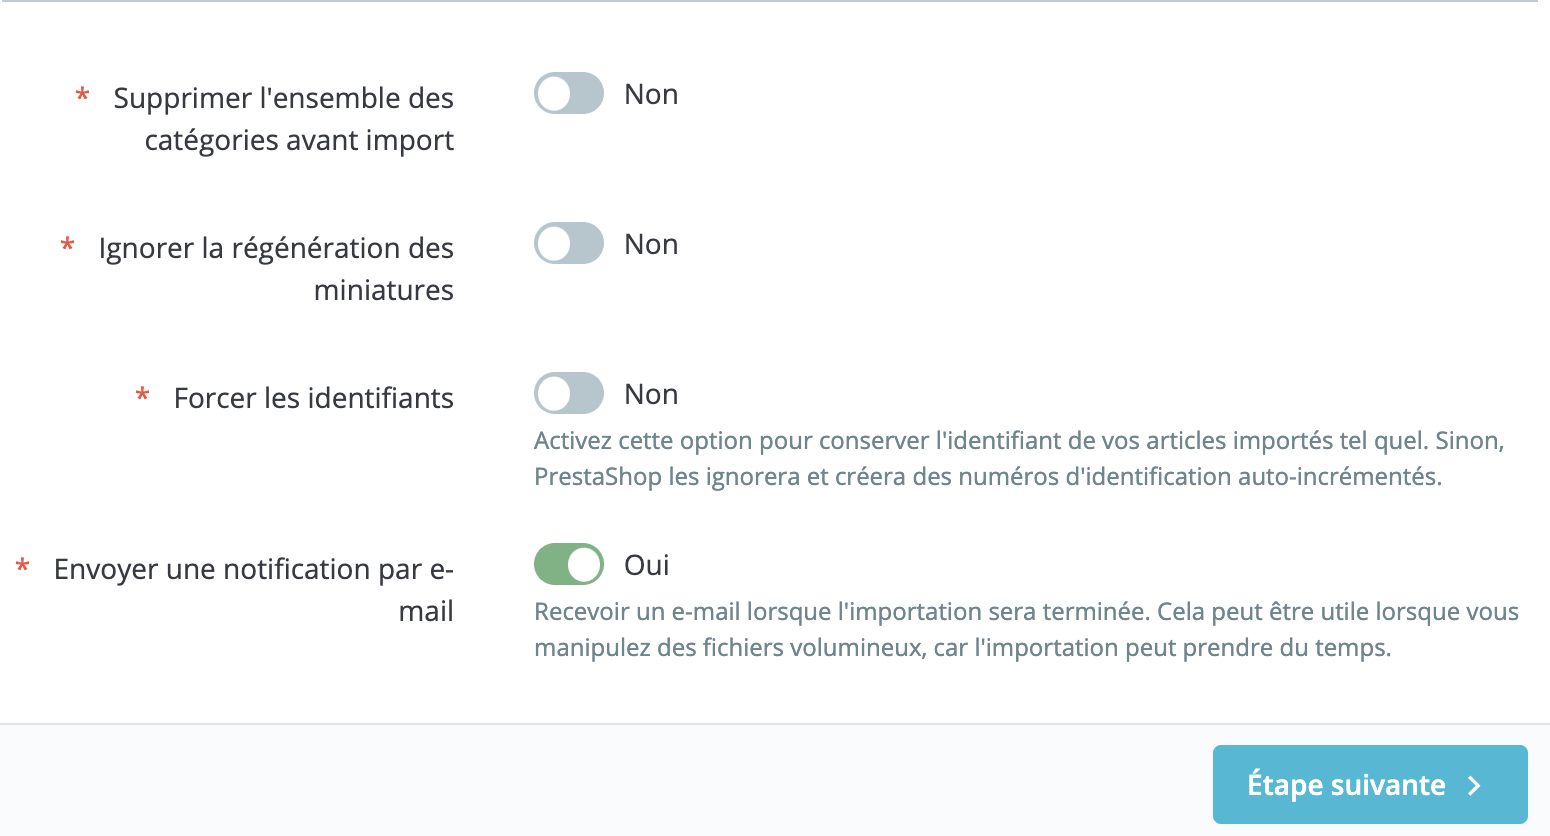
- Delete all categories: click "yes" to remove all existing example categories from your back office.
- Ignore thumbnail regeneration: leave the default value as "No," especially if your catalog is substantial.
- Force identifiers: select "yes" if you have not filled in the "ID" column of the file, PrestaShop will automatically create the identifiers. Leave it on "No" if you have already set an identifier for each category.
- Send an email notification: receive an email to confirm that the import is complete. This option may be useful if the file to be imported is large, as the more items there are to import, the longer the import will take.
Import the data
Click on the "Next step" button to display the data mapping. This tool helps you accurately match the columns of your file with the fields required by PrestaShop.
| 💡 Click on the ">" and "<" buttons to navigate through the columns and match them all to the correct headers. |
In our example, we used the first line to write the names of the columns. Since we do not want to import this line, we enter "1" in the "Skip X lines" field.
When all your columns have found a match, click on the "Import data" button to start the import process. Once completed, you will return to the main screen which, depending on the result, will confirm that everything has been imported successfully or notify you of any issues encountered. In the second case, please review your .csv files carefully; it is possible that an item has been reported incorrectly.